AirChat is Pilot's AI-powered chatbot for automated customer support, grounded in your knowledge base.
Key Features
- Multi-Provider AI: Claude (Anthropic) as primary, with fallback to OpenAI and DeepSeek for reliability
- Knowledge Base: Add docs the AI uses to answer questions accurately about your business
- Embeddable Widget: Single script tag — no dependencies required
- Conversation Persistence: Sessions resume on reload; visitors browse past chats from the widget header
- Human Escalation: Visitors request human support; you get an email, desktop notification, and audio alert. Reply from Pilot and the visitor sees it within 10 seconds
- SMS Support: Purchase a dedicated phone number from Settings to receive and reply to escalated chats via text message
- Availability Toggle: "Accepting Chats" toggle in Settings — when off, escalated visitors see a team-away message
- Typing Indicators: Real-time indicators so both sides know when the other is composing
- Image Sharing: Visitors can send images (PNG, JPG, WebP, GIF — up to 5MB)
- Satisfaction Ratings: Thumbs up/down on AI responses; overall stats shown in Conversations
- Bug Tracker: Visitors report bugs from the widget — track open/fixed counts and vote on priorities
- Feature Requests: Visitors submit ideas from the widget — vote to prioritize your roadmap
- News Publishing: Publish announcements visible in the widget's News tab
- Email Capture: Collect visitor emails automatically added to your CRM contacts and sales pipeline
- Customization: Bot name, persona, color, branding, team avatars, and domain restrictions
How to Use
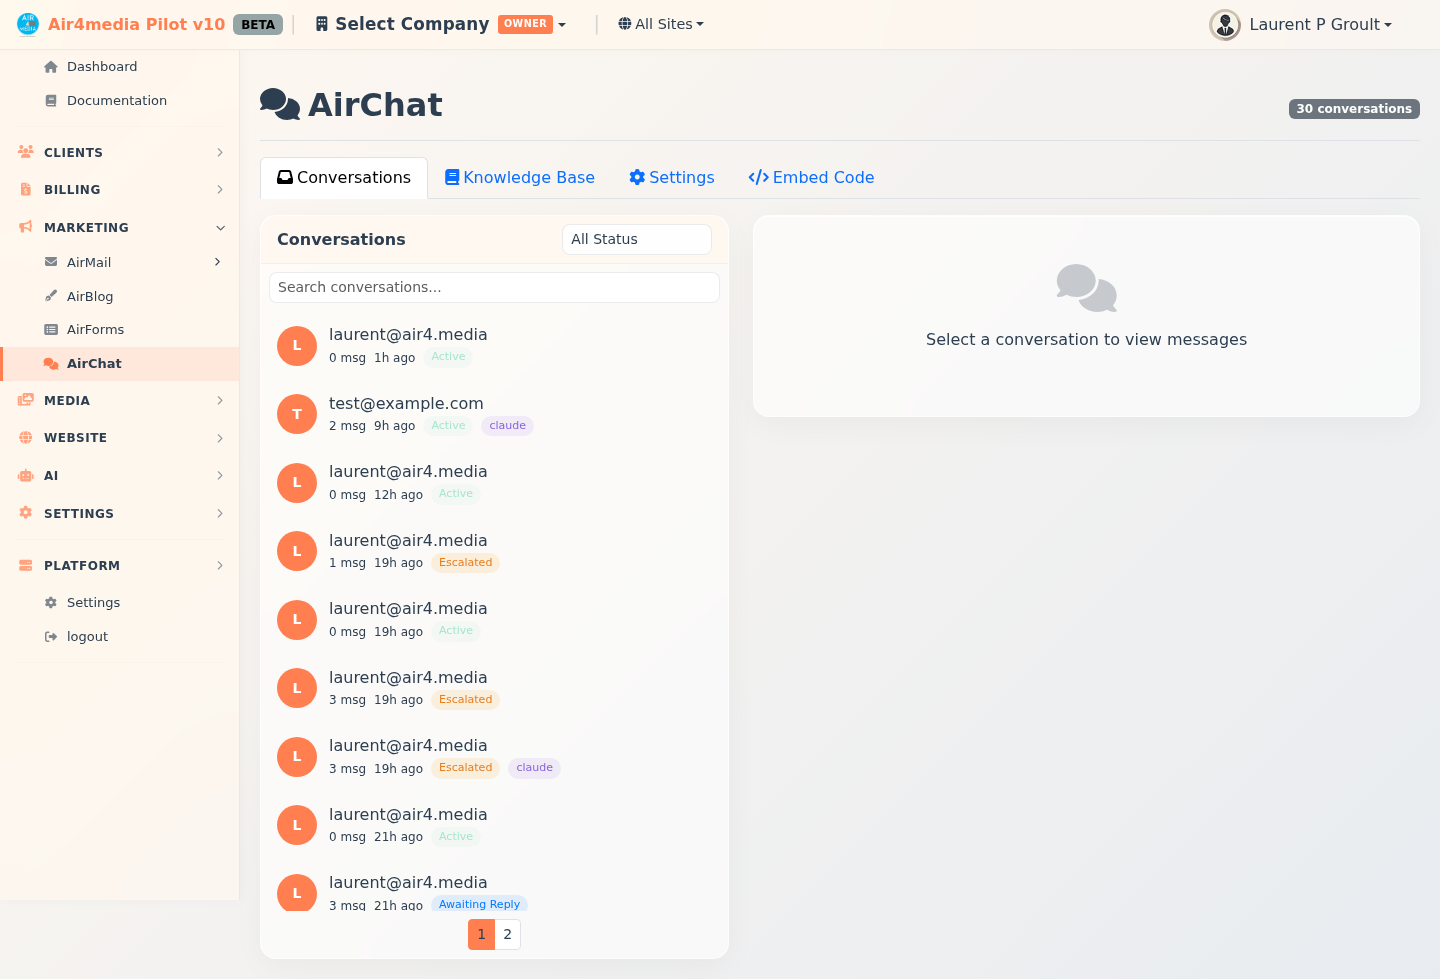
Conversations
- Open the Conversations tab to see all sessions
- Filter by status (Active, Escalated, Awaiting Reply, Resolved, Closed) or by AI provider (Claude, OpenAI, DeepSeek)
- Search by visitor name or email; click a conversation to view the thread and reply
Escalation Workflow
- Visitor clicks "Human" or the AI detects low confidence → status becomes "Escalated"
- You receive an email, desktop notification, and audio alert
- Open the conversation in Pilot and type a reply — the visitor sees it within 10 seconds
- Mark the conversation Resolved when done
Bugs & Feature Requests
- Go to the Bugs or Features tab — view open/fixed stats at a glance
- Filter by status (New, Reviewed, Planned, Fixed, Declined) or sort by votes
- Click any item to update its status, add internal notes, and vote
Publishing News
- News tab → New News
- Add a title, summary, full content (markdown supported), an optional image URL, and an optional related page
- Set category (New Feature, Update, Improvement, Fix) and visibility (Public or Beta Only)
- Click Save & Publish or Save as Draft
Knowledge Base
- Knowledge Base tab → Add Entry
- Choose a category (General, Product, Support, Pricing, Technical, FAQ), add content, and optionally attach a screenshot (max 2MB)
- Click Sync KB to rebuild the AI's knowledge index
Settings
- Bot: Name, AI provider, persona/system prompt, fallback toggle, Chat Active on/off
- Widget: Color, position, email capture mode and message, allowed domains
- Branding: Greeting, bot avatar, header logo, gradient color, team avatars (up to 4), help articles and news tab toggles
- Phone: Purchase a dedicated number to receive and reply to escalated conversations via SMS
- Usage: Monthly message count vs. your plan limit
Copy the embed snippet from the Embed Code tab and paste it before </body> on your site.
Tips
- A detailed bot persona improves response quality and tone
- Enable provider fallback so the widget stays up if one AI provider goes down
- Use "Required" email capture so every visitor is added to your CRM and pipeline automatically
- Turn off "Accepting Chats" when your team is away — visitors get an honest message
- Use the "Chat Active" toggle to disable the widget temporarily without touching your embed code
- Publish news items regularly to keep visitors informed directly in the widget